Showing posts with label blue. Show all posts

Thursday, March 7, 2013

Inspired


Hi! 

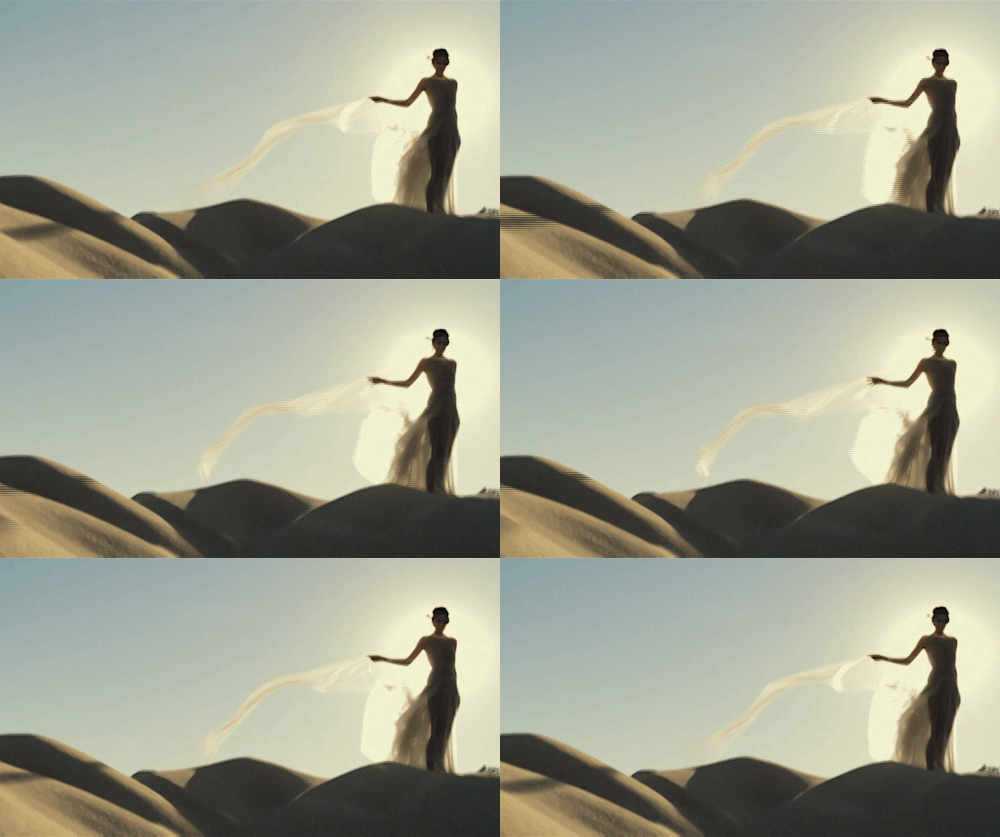
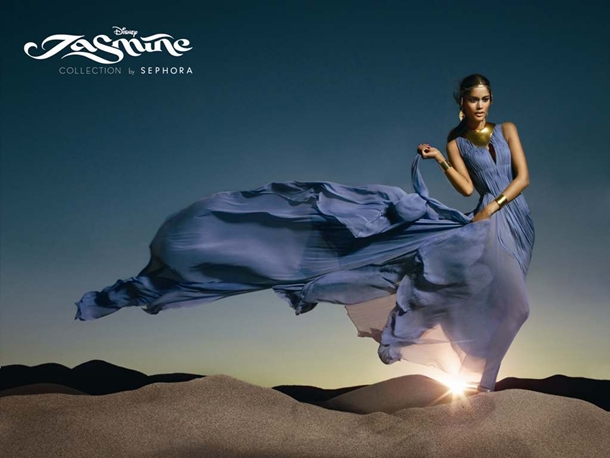
So as the title of this post indicates, this look was "inspired" by the Jasmine collection at Sephora, I haven' seen it yet (it should be available starting this month on the e-shop in France) but this was mostly inspired by the promotional video and some screen captures that I've seen.

The colours mostly used for these looks are black and gold, there are also touches of blue, green, purple and coral. But the overall look is mostly dark.
I wouldn't go to work like this ^^ so this is a "milder" version of it.


Products used:
Face:
The Body Shop Tea Tree Pore Minimiser
Mac Mineralize Charged water moisture gel
The body shop concealer pencil in shade 06

Eyes:
Elf shadow primer
NYX Jumbo Pencils in Milk and Yoghurt
The Coral Shadow from my Wet'n Wild Palette in Walking on Eggshells and the black from my Naked Palette 2
The colour in the inner corner of my eyes is the gold from my Clinique All in One Palette
Clinique Mascara

Lips:
Astor Liquid care in Gorgeous Fuschia

So that's it for now, more coming soon. I will do a look that is darker and more bold, with more colours because I have to admit that I'm not entirely satisfied with this one
See you! Bye!

Sonam

Monday, February 18, 2013

If you can't choose between eyeshadow and liner!

Hi everyone!

Today I'm going to do a tutorial of one of my all time favorite looks. I will only describe the eyemakeup part or this post will be neverending! This look is one that I do when I run out of ideas of looks to do, I call it my "comfort look". It is very easy to do and there's nothing special about it, it's just the look that saves me if I sleep too long and don't have as much time to get ready in the morning or if I'm a bit under the weather and don't want to look like the undead.

So let's get straight to it, first of all, you will need:

-a liner pencil (any brand or colour will do, but I usually use darkish colours because I find that they compliment any eyeshadow colour),

-any powder eyeshadow (I also use shadows that are kind of between powder and cream like the L'Oréal Infaillible ones because they tend to stay put longer),

-a nice bright "highlight shadow" (I use that to highlight the inside corner of my eyes to look more awake and to brighten up the entire look, especially if I'm using a dark eyeshadow, it makes it less dramatic for work or any daytime activities) it doesn't need to be shimmery or anything, just the kind of colour that you would use to highlight your brows for example,

-a dark brown or black liquid eyeliner or eyeliner pen (you will only need this if you want to do a winged liner look, I usually do),

-some mascara, I like to use the ones that have the two sides with the base and the mascara, any brand will also do, what really counts is application.


So let's talk about that now:

-First I usually apply some eyesahdow primer from lid to brow and blend well,

-then I add some powder (foundation powder or loose powder will do the trick),

-after that, I line my eyes with whatever colour I chose I start from the outer corner and bring the line to the inside corner making thinner as I go,

-then add the eyeshadow using a liner brush like this one:, I just pack a little bit of shadow on the tip of the brush and put it onto the line that I just made with the pencil, and add some more until I get the desired effect. Usually I add more shadow on the middle of my lid than on the outside and inside corners, this will create a sort of gradent effect.

-Add the eyeliner at the tip (outside corner) to make the line more defined or to add a wing if you are going for a wing or just add some of the liner to define the tip of the line, this will also add to the gradient effect.

-In the inside corner I add a little bit of white or any light pencil (the one I will use for my waterline), then add the lightest eyeshadow very lightly, it needs to be subtle because I am not wearing shadow on my entire lid, and blend a bit.

-Sometimes, to make the look a bit more dramatic or sophisticated looking I add some bronzing powder in my outer crease and blend, it gives the entire look a more defined effect. If you want you can completely skip this step though.

-Then add some mascara: I always start by putting the primer first, then I comb my lashes out so that they won't clump and also to control in which direction they go, then I add some black or dark brown mascara (I usually go for black though) generously on my top and bottom lashes. I apply the mascara on the top and then the bottom of my lashes (I will explain how I do that in another post). And Voila!

-You can also add some natural looking falsie or even some half lashes too. I always use half lashes anyway because they are easier to apply for me and so they take less time. I also think that it looks more natural for a daytime look.

The look in Blue


 The look in Purple.


I will post some more colours very soon because this is my go-to look these days as I treasure my sleep so much. =)

Although this post was very long, I hope you'll like it and that it will inspire you to do your own version using your favorite colours.

Thanks for reading and see you soon!

(Traduction Française de ce post ici)
Sonam
Wednesday, January 30, 2013

Photoshoot!

Hi!

So this is the post about the photoshoot that I talked about on Facebook

It was Saturday morning and there were two models, a guy: Jonathan, and a girl: Rebecca.
The entire shoot was really fun because we were in a little bar, the owner left us the place for the entire day and I actually remember that we were talking with Aurélie about doing a photoshoot the very first time we went there.
For Jonathan, I didn't do much, I just applied some loose powder to prevent his face from being shiny on the pictures. 
For Rebecca, I did a kind of gradual makeup: she had three different outfits so I did a neutral makeup in the beginning just using concealer, powder ,neutral colours from the Naked 2 Palette and some mascara.

Donc, voici le post sur la séance photo dont je vous avais parlé sur ma page Facebook .
C'était un samedi matin et il y avait deux modèles, un homme: Jonathan, et une jeune femme: Rebecca.
Tout le tournage était vraiment sympa parce que nous étions dans un petit bar, la propriétaire nous a laissé l'endroit pour toute la journée et je me souviens effectivement que nous en avions parlé (de faire un shooting) avec Aurélie la toute première fois où nous sommes allées là-bas.
Pour Jonathan, je n'ai pas fait grand chose, j'ai juste appliqué une poudre libre pour éviter que son visage ne brille trop sur les photos.
Pour Rebecca, j'ai fait une sorte de maquillage progressif: elle a eu trois tenues différentes donc j'ai fait un maquillage neutre au début en utilisant simplement un anti-cernes, de la poudre, des couleurs neutres de la palette Naked 2 et du mascara.


Then for the next outfit I added some more eyeshadow in the corners of her eyes (Busted and Snakebite from the Naked 2 Palette).

Puis pour la seconde tenuej'ai ajouté un peu plus de fard à paupières dans les coins externes de ses yeux (Busted et Snakebite de la Naked Palette 2).


The third Makeup look was almost a disaster though, I was planning on using some Dark blue Eyeshadow from Yves Rocher, but it refused to stick to her eyelid even after wetting the brush so I ended up using Pistol from the Naked 2 Palette and the crease colour from the Wet&Wild Walking on Eggshells palette. The colour turned out to be quite interesting, the blue made it a bit purple I think. 

(source: luuux.com)

Le troisième look a failli être un désastre par contre, je comptais utiliser un fard à paupières bleu foncé de Yves Rocher, mais il a refusé de tenir sur ses paupières, même après avoir mouillé le pinceau donc j'ai fini par utiliser Pistol de la palette Naked 2 et la couleur du milieu de la palette Wet&Wild Walking on Eggshells. La couleur a fini par être vraiment intéressante, un peu entre le bleu et le violet je pense.


Here's Jonathan the male model


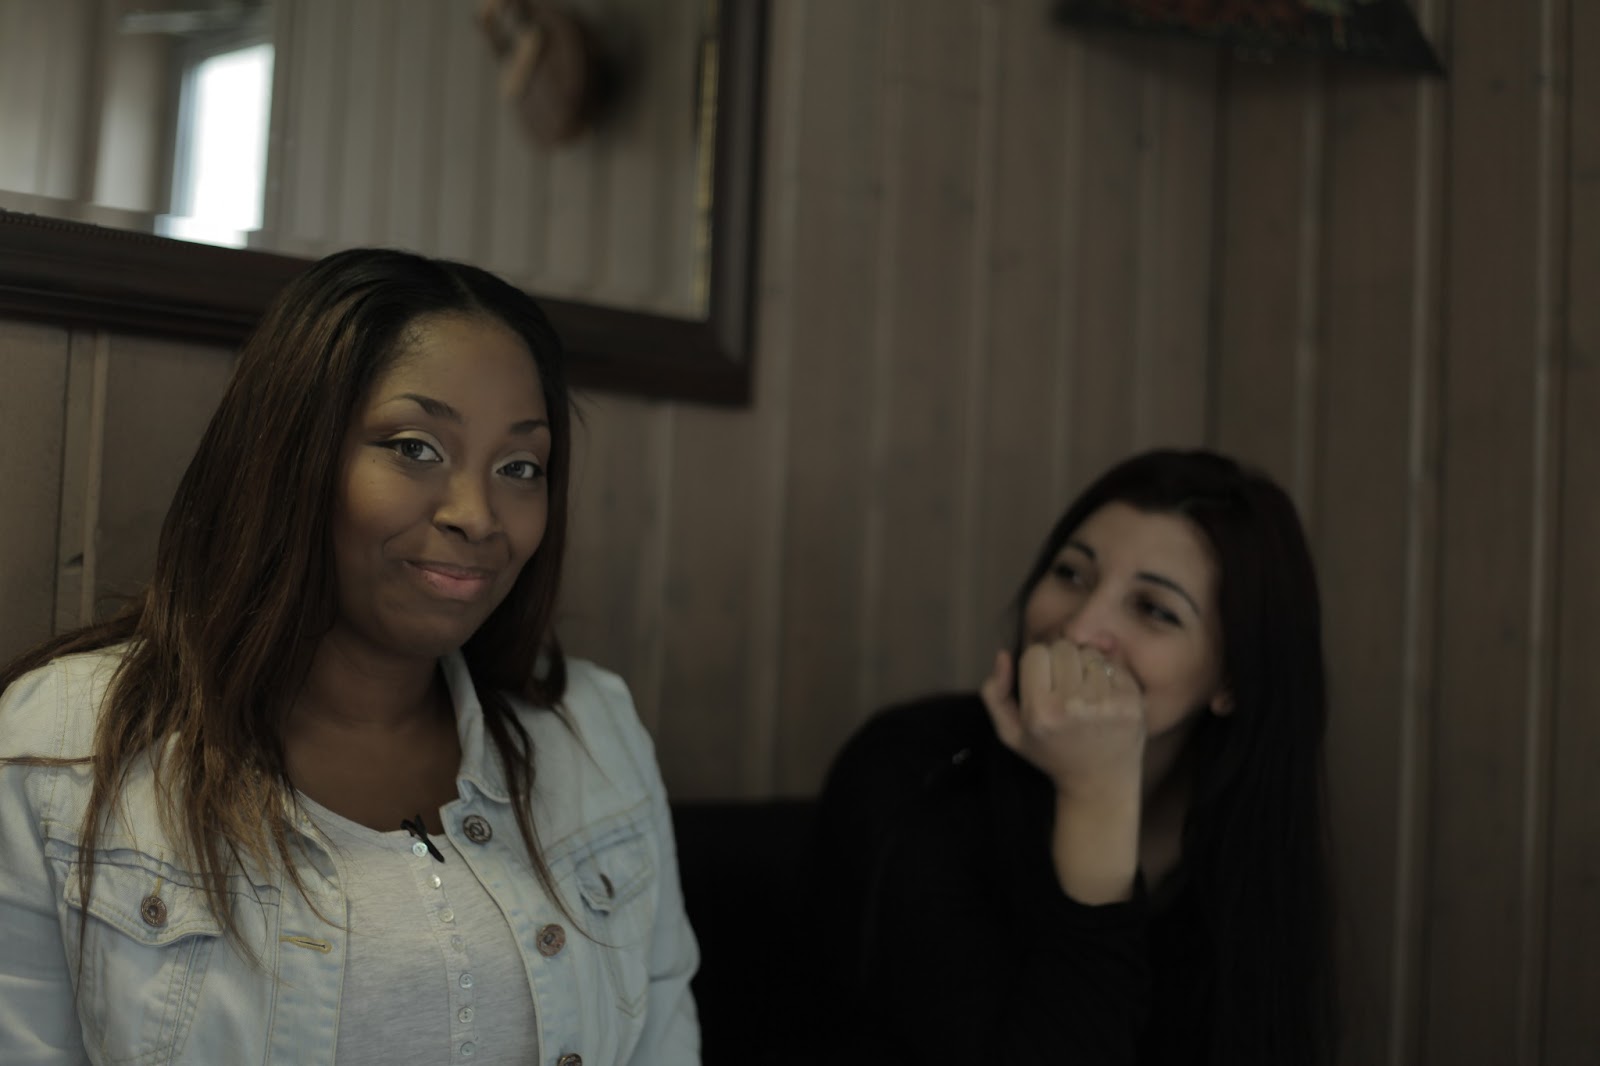
Here's a picture of Aurélie and me laughing mischievously after the photoshoot while remembering how fast I ran after I lit the smoke thingies. I was even captured running from it in Aurélie's Video portrait =)
All in all, it was another great photoshoot, I can't wait for more of those!

Voici une photo d'Aurélie et moi riant malicieusement après la séance photo en se rappelant à quelle vitesse j'ai couru après avoir allumé les fumigènes. J'ai même été filmée dans le portrait vidéo d'Aurélie =)
Dans l'ensemble, ce fut encore une super séance photo, j'ai hâte d'y être encore!

Thanks for reading!

See you! Bye!
Sonam