Hi everyone!
Today I'm going to do a tutorial of one of my all time favorite looks. I will only describe the eyemakeup part or this post will be neverending! This look is one that I do when I run out of ideas of looks to do, I call it my "comfort look". It is very easy to do and there's nothing special about it, it's just the look that saves me if I sleep too long and don't have as much time to get ready in the morning or if I'm a bit under the weather and don't want to look like the undead.
So let's get straight to it, first of all, you will need:
-a liner pencil (any brand or colour will do, but I usually use darkish colours because I find that they compliment any eyeshadow colour),
-any powder eyeshadow (I also use shadows that are kind of between powder and cream like the L'Oréal Infaillible ones because they tend to stay put longer),
-a nice bright "highlight shadow" (I use that to highlight the inside corner of my eyes to look more awake and to brighten up the entire look, especially if I'm using a dark eyeshadow, it makes it less dramatic for work or any daytime activities) it doesn't need to be shimmery or anything, just the kind of colour that you would use to highlight your brows for example,
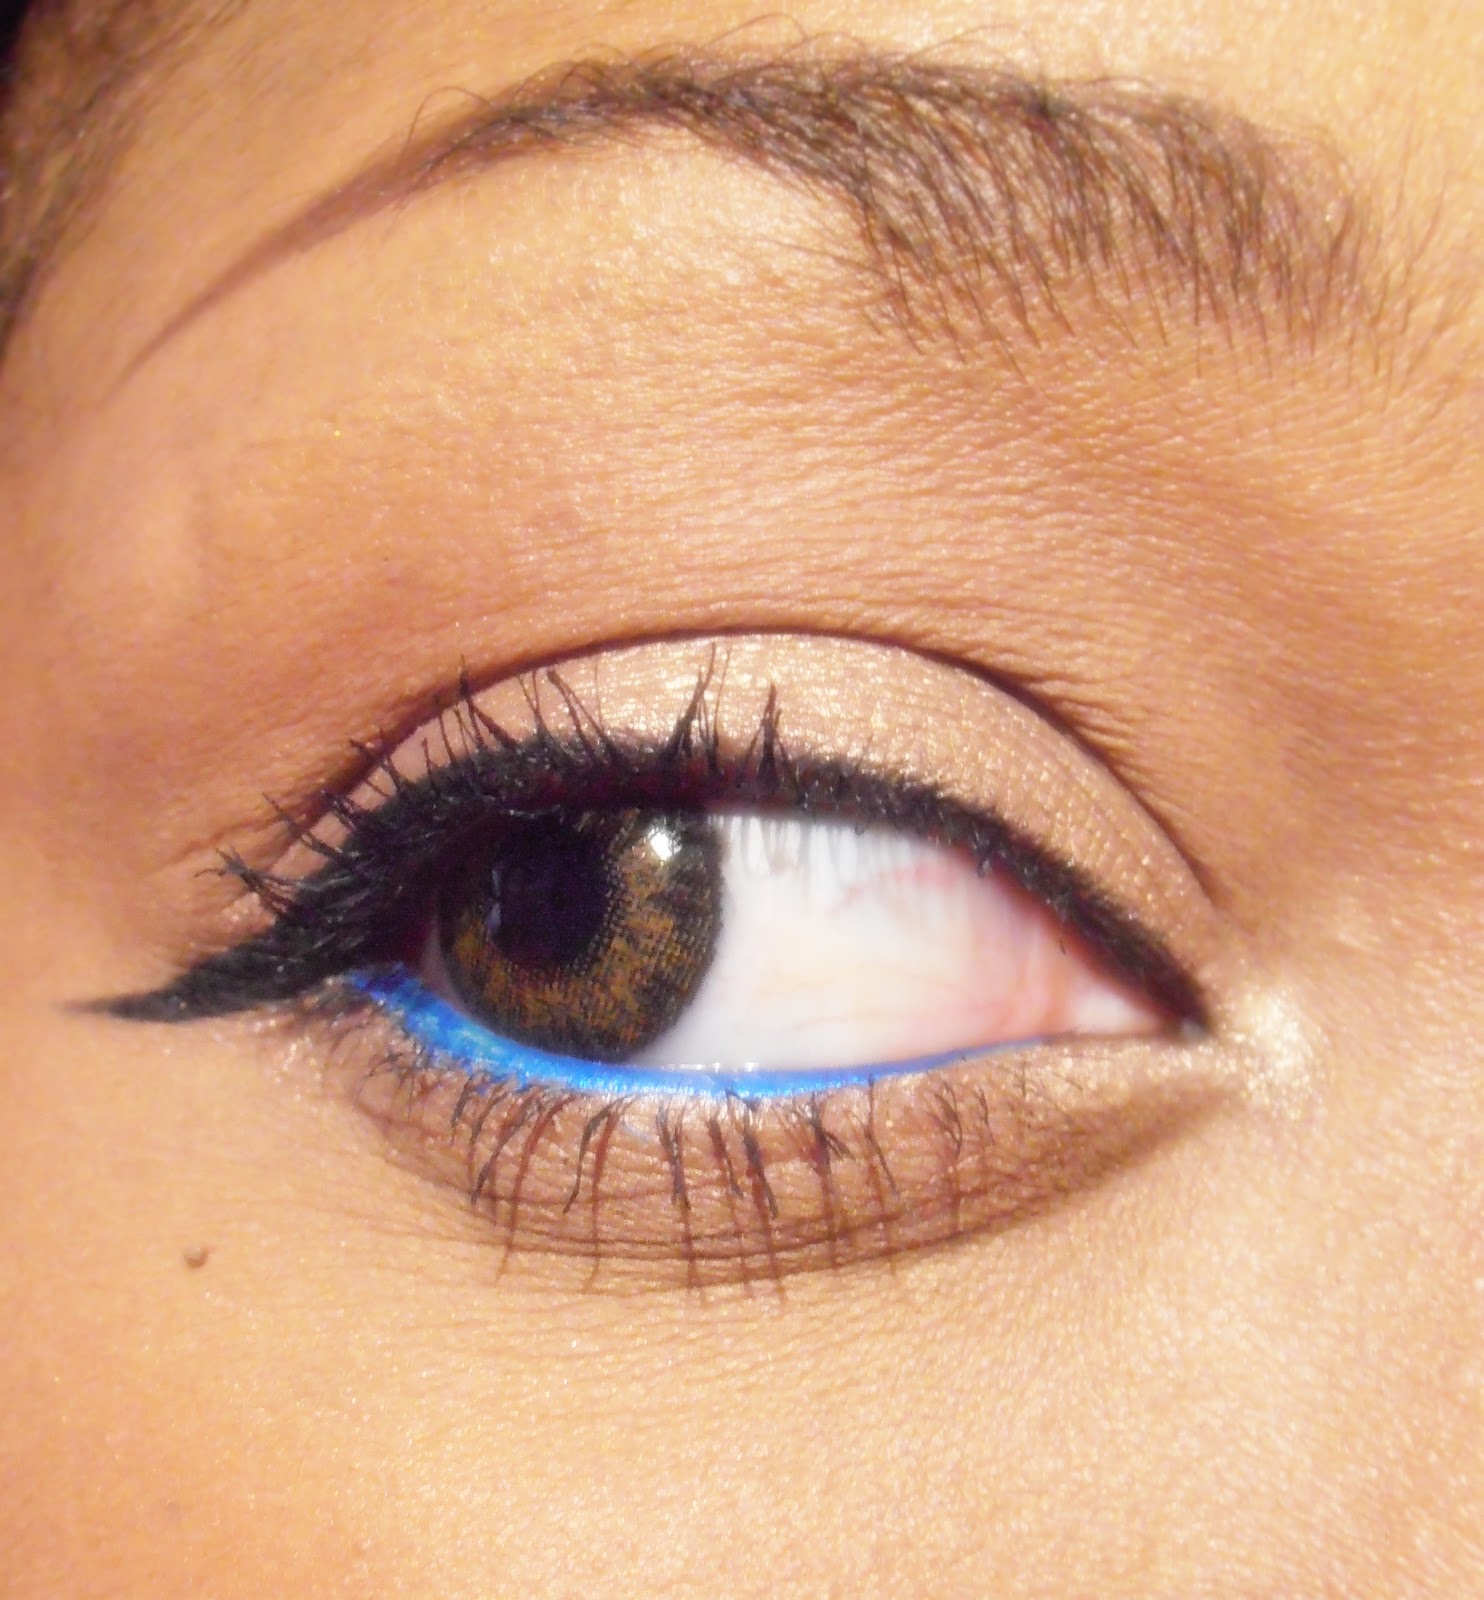
-a dark brown or black liquid eyeliner or eyeliner pen (you will only need this if you want to do a winged liner look, I usually do),
-some mascara, I like to use the ones that have the two sides with the base and the mascara, any brand will also do, what really counts is application.


So let's talk about that now:
-First I usually apply some eyesahdow primer from lid to brow and blend well,
-then I add some powder (foundation powder or loose powder will do the trick),
-after that, I line my eyes with whatever colour I chose I start from the outer corner and bring the line to the inside corner making thinner as I go,
-then add the eyeshadow using a liner brush like this one:, I just pack a little bit of shadow on the tip of the brush and put it onto the line that I just made with the pencil, and add some more until I get the desired effect. Usually I add more shadow on the middle of my lid than on the outside and inside corners, this will create a sort of gradent effect.
-Add the eyeliner at the tip (outside corner) to make the line more defined or to add a wing if you are going for a wing or just add some of the liner to define the tip of the line, this will also add to the gradient effect.
-In the inside corner I add a little bit of white or any light pencil (the one I will use for my waterline), then add the lightest eyeshadow very lightly, it needs to be subtle because I am not wearing shadow on my entire lid, and blend a bit.
-Sometimes, to make the look a bit more dramatic or sophisticated looking I add some bronzing powder in my outer crease and blend, it gives the entire look a more defined effect. If you want you can completely skip this step though.
-Then add some mascara: I always start by putting the primer first, then I comb my lashes out so that they won't clump and also to control in which direction they go, then I add some black or dark brown mascara (I usually go for black though) generously on my top and bottom lashes. I apply the mascara on the top and then the bottom of my lashes (I will explain how I do that in another post). And Voila!
-You can also add some natural looking falsie or even some half lashes too. I always use half lashes anyway because they are easier to apply for me and so they take less time. I also think that it looks more natural for a daytime look.
The look in Blue


The look in Purple.


I will post some more colours very soon because this is my go-to look these days as I treasure my sleep so much. =)
Although this post was very long, I hope you'll like it and that it will inspire you to do your own version using your favorite colours.
Thanks for reading and see you soon!
(Traduction Française de ce post ici)
Sonam