Hello!
This look was done with one of my favorite colours these days (I did it three days in a row=)):
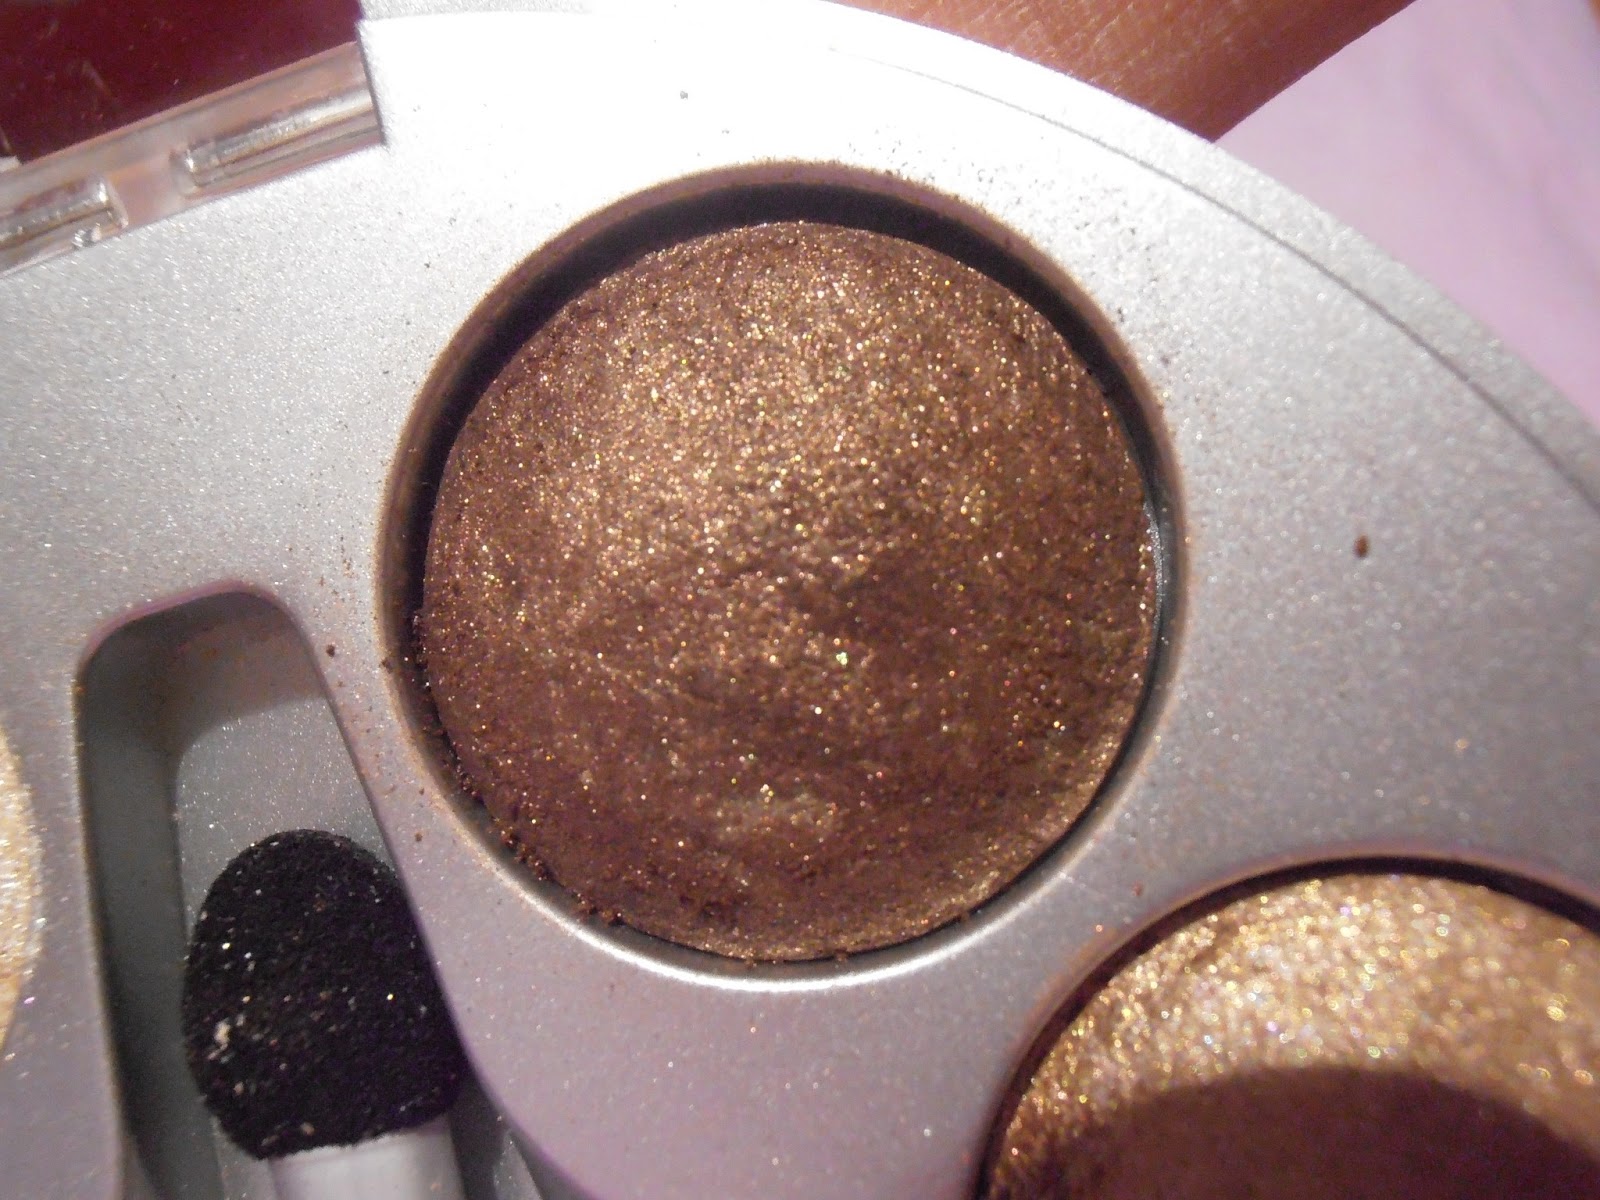
It’s a sort of dark Gold in the Biguine Eyeshadow Palette, I also have a Green version of it that I will swatch this weekend with neutral and dark base so you can see the colours and how they look on the skin.
Ce look a été fait avec une de mes couleurs préférées ces jours-çi (je l'ai refait trois jours de suite=)):
C’est une sorte de Doré sombre dans la Palette d'ombre à Paupières Biguine, j'ai aussi une version Verte de cette palette que je vais swatcher ce week-end avec une base neutre et sombre afin que vous puissiez voir les couleurs et comment elles sont une fois appliquées sur la peau.
For this look I used Nyx Jumbo pencil in Yoghurt as base, I just applied it along my lashline then smudged it on my entire lid to create a sort of gradient look that would be more concentrated along the lash line and more sparse in the crease.
Then, using my ring finger, I just applied the eyeshadow on top of the base using a tapping motion (to avoid getting glitter all over my cheeks like I usually do) and to apply more product as eyeshadow brushes tend to pick up less product.
Pour ce look j'ai utilisé le crayon Jumbo de Nyx couleur Yoghurt comme base, je l'ai appliqué le long des cils puis j'ai estompé sur l'ensemble de la paupière pour créer une sorte de dégradé qui serait plus concentrée le long des cils et moins vers l'exterieur.
Puis, en utilisant mon annulaire, j'ai juste appliqué le fard à paupières pardessus la base en éssayant de juste tapoter avec mon doigt (pour éviter d'avoir des paillettes partout sur mes joues comme je fais d'habitude) et d'appliquer plus de produit que des les pinceaux pour fard à paupières qui ont tendance à ramasser moins de produit.
I added some Nyx jumbo pencil in Milk in the inner corner of my eye and then put some of the gold eyeshadow from my Clinique All over Palette and smudged it a bit with a blending brush so that the '"light" would be less concentrated on one spot.
J'ai ajouté un peu de crayon Jumbo de Nyx couleur Milk dans le coin interne de l'œil, puis j'ai mis un peu de fard à paupières doré de la palette All over de Clinique puis j'ai un peu estompé avec un pinceau pour que la "lumière" soit un peu diffusée.
After that, I added some brown eyeliner on the outer and inner corners of my upper lashline and created a bit of a wind on the outer corner.
Then I added mascara as usual. I haven't been wearing fake lashes these days because it takes time and also because I don't have a lot left right now, as soon as I restock I'll try to incorporate them into my looks, it adds that little something. =)
J'ai ensuite ajouté un peu d'eye-liner marron sur les coins extérieurs et intérieurs de mes yeux puis j'ai fait j'ai un peu "allongé" le liner sur le coin externe. Ensuite, j'ai ajouté du mascara comme d'habitude. Je ne mets pas de faux cils ces jours-ci parce que cela prend du temps et aussi parce que je n'en ai plus trop en ce moment, dès que je me serai réapprovisionné je vais essayer de les incorporer dans mes looks, ils ajoutent ce petit quelque chose.=)
The products used are:
Les produits utilisés sont:
Elf eyeshadow primer
Nyx Jumbo pencils in Milk &Yoghurt
Biguine Dark Gold Eyeshadow
Clinique Gold eyeshadow from the All over Palette
Maybelline Mascara base
Maybelline Great Lash Mascra
Essence Kajal pencil in 08 Teddy that I also use to do my Liner look sometimes.
I hope you liked this, See you soon, Bye!
J'èspère que vous avez aimé, à bientôt!


