Showing posts with label inspired. Show all posts

Thursday, March 7, 2013

Inspired


Hi! 

So as the title of this post indicates, this look was "inspired" by the Jasmine collection at Sephora, I haven' seen it yet (it should be available starting this month on the e-shop in France) but this was mostly inspired by the promotional video and some screen captures that I've seen.

The colours mostly used for these looks are black and gold, there are also touches of blue, green, purple and coral. But the overall look is mostly dark.
I wouldn't go to work like this ^^ so this is a "milder" version of it.


Products used:
Face:
The Body Shop Tea Tree Pore Minimiser
Mac Mineralize Charged water moisture gel
The body shop concealer pencil in shade 06

Eyes:
Elf shadow primer
NYX Jumbo Pencils in Milk and Yoghurt
The Coral Shadow from my Wet'n Wild Palette in Walking on Eggshells and the black from my Naked Palette 2
The colour in the inner corner of my eyes is the gold from my Clinique All in One Palette
Clinique Mascara

Lips:
Astor Liquid care in Gorgeous Fuschia

So that's it for now, more coming soon. I will do a look that is darker and more bold, with more colours because I have to admit that I'm not entirely satisfied with this one
See you! Bye!

Sonam

Wednesday, February 13, 2013

A little update!

Hi all!

As promised I am "working on"(which means I'm trying to make it look good and not like I just got punched in the eye, which is all I've accomplished this far =P). The two makeup looks are: one with pink and purple eyeshadow and one inspired by Sephora's upcoming Jasmine collection.
They will be up very soon. I also wanted to announce that both this blog and my Facebook Page will be in English AND French from now on.
Thanks for stopping by!

Have a nice day.

A hedgehog made out of an old book!
I didn't make this by the way...
I just clicked a picture of it 'cuz I found it cute =)
Un vieux livre transformé en hérisson
Je ne l'ai pas fait..
J'ai juste pris la photo car je l'ai trouvé mignon =)

Salut à tous!


Comme promis je "travaille" sur mes prochains looks (ce qui veut dire que je suis en train de faire en sorte que ça paraisse bien et non pas comme si je venais de me prendre un coup de poing dans l'œil, ce qui correspond à peu près à ce que j'ai réussi à faire jusqu'à maintenant = P) Les deux looks que j'ai promis sont: un avec fard à paupières rose et violet et un inspiré par la collection à venir Jasmine de Sephora.


Ils seront là très bientôt. Je voulais aussi vous annoncer que ce blog ainsi que ma page Facebook seront désormais en anglais ET en français.
Merci pour votre visite!

Bonne journée.

Sonam

Thursday, October 25, 2012

Fascinated by lashes!

source: soshallo

Weirdly enough, my lashes grow straight down, which means that when I apply mascara, if I don't curl them, they just look "meh" or sometimes (depending on the mascara I use) they even look like I don't have any lashes at all. That's where false lashes come in. Actually not really because by curling my lashes I'm quite satisfied with the result, but since I've tried false lashes and seen how much more they add to any look, I can't really go back. I do my makeup without applying false lashes quite often but when I do, I usually pack on the mascara, I don't make them clumpy but I try to still make them stand out. Like so:


It took me a very long time before I learned how to actually apply them properly and also to keep them on, because I used to put them on and then pull them off just before leaving the house thinking "it'll look too fake, and everyone will see they're not mine" or they'll fall off while I'm talking to someone.
But by practicing a lot I managed to get a few techniques to apply them easily, quite fast and make them look realistic too.

Here I'm gonna show you my favorite lashes and less favorite ones and the different techniques I use for different kinds of strip lashes (I don't like the individual ones or the ones that come in little "bunches" of 3 or 4 that you can glue on just because I'm not that good at using them and for me comfort is key so...).

So I'm gonna start by the less favorite ones and try to explain why that is.


Usually when I wear lashes, I like them to blend in with my own lashes, these, for some reason, don't.
I also usually curl the lashes before applying them and these, despite being a bit curled already (not enough IMO) won't budge no matter how long you try, I didn't try heating the lash curler before doing it because I was quite sure they were gonna melt.

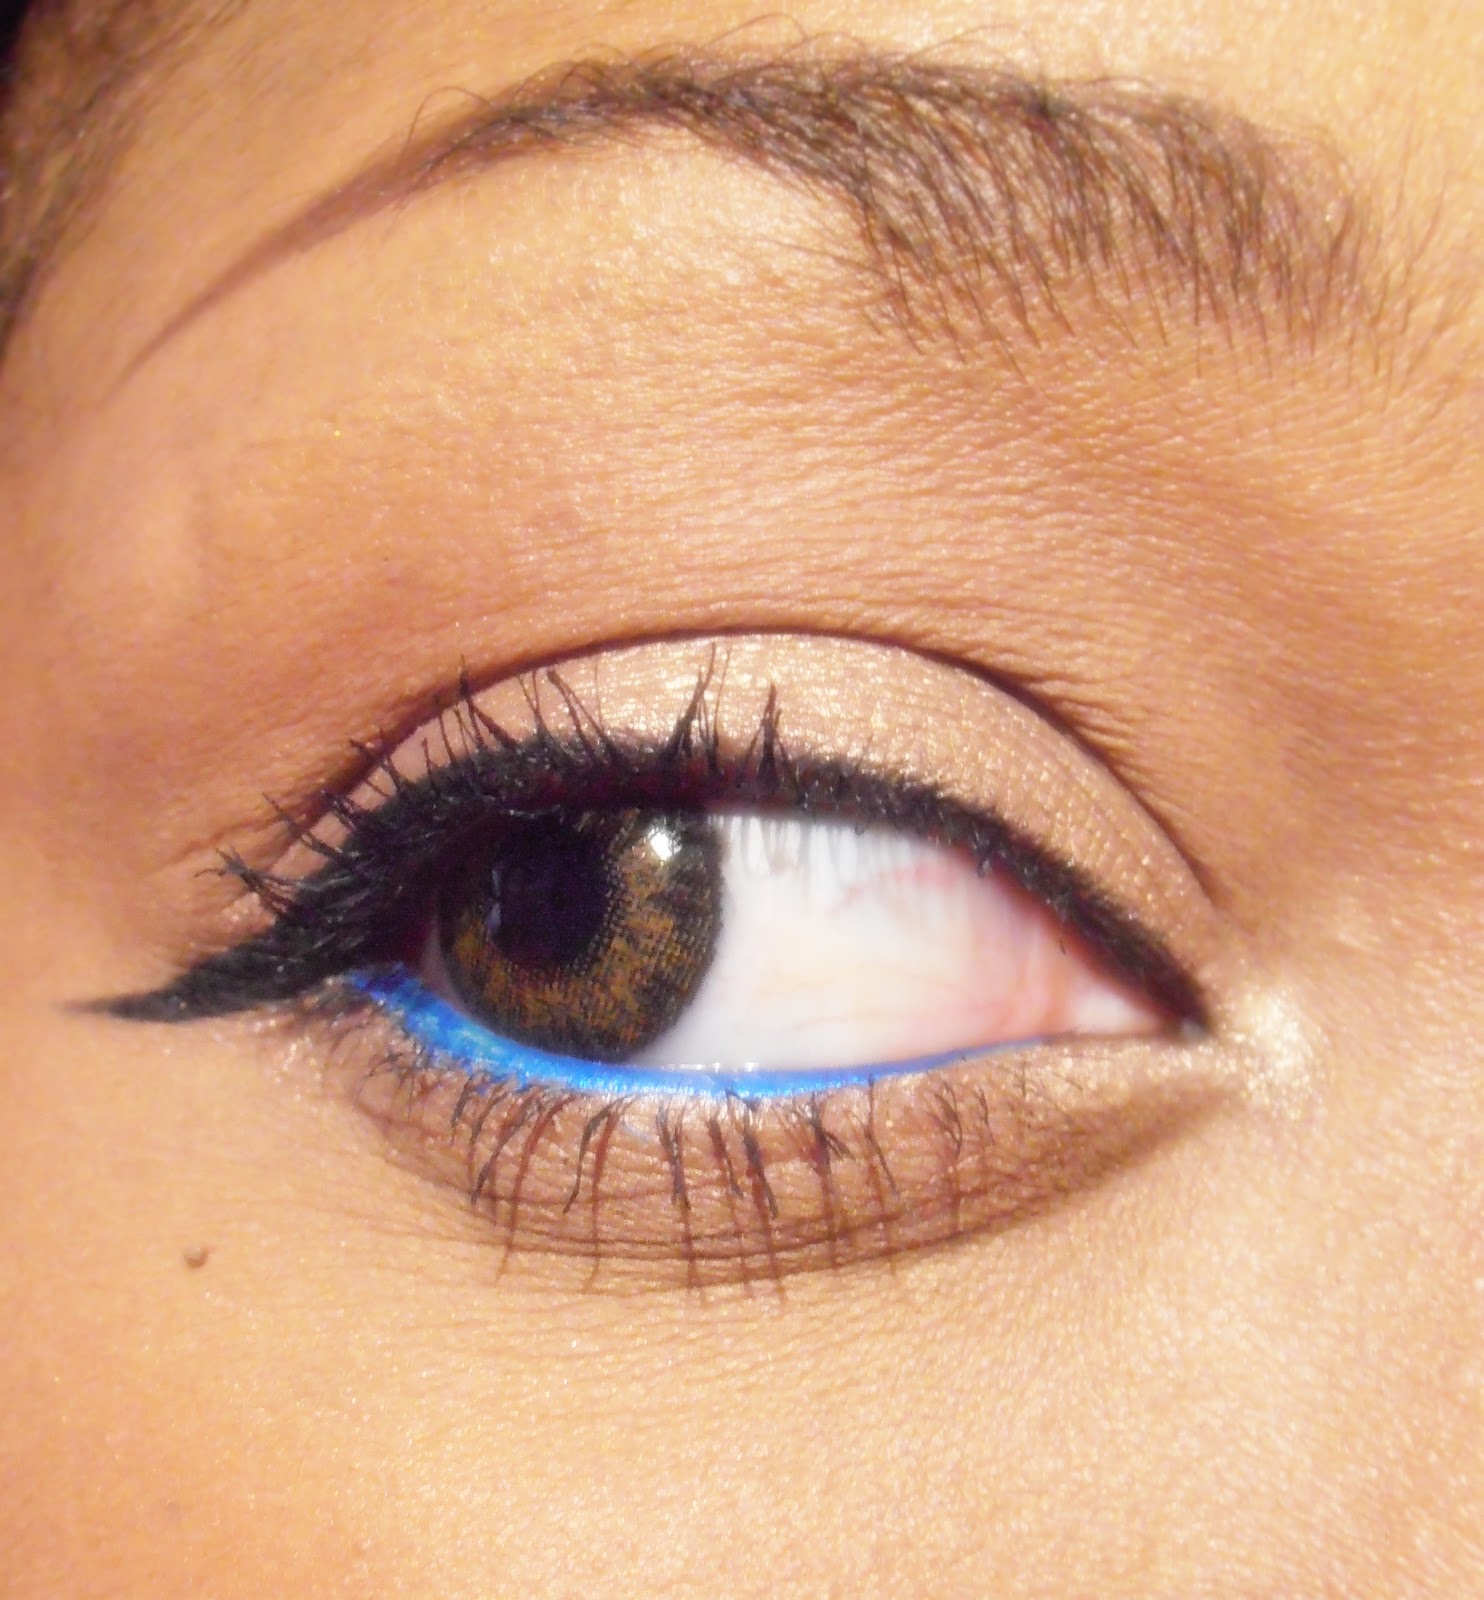
This is how they look once applied:


Oh and I also forgot to mention that very visible black band that you can see on my lashline right there.
I don't like that either.

These are my Favorite:


The first reason is the clear band, I really like it as it's not noticeable at all even with neutral looks, you don't need to cover it up with black liner.


They are also very easy to curl which is a big plus for me.
Here's how they look applied.

 I feel like they're even less noticeable without eyeliner actually or with a very thin line of liner.


 Here they're applied cut in half, this is the way I usually use them when I'm in a hurry and also when I'm going for a simple neutral look. 


Here I cut it in half and glued it to the outside part of my lashline.
I also only applied mascara on the roots so that it wouldn't stand out beside my own lashes and voila!

These are my second favorite but they're only second because of the colour of the band otherwise they would be my absolute favorite because I don't know if you can tell, but the band is made of thread actually and that makes it super flexible, which means no more wiggling and twisting the lash band to give it the shape that you want, I just take these out of the box apply the glue and put them on. They also curl as easily as the previous ones, what's not to like?


Here's how they look once applied.


And here's how flexible they are.


You can see the thread band, click for a bigger picture. (works on all the pictures btw)


These are the ones that I like less of those that I do like because the band is quite stiff so it's a bit more work to apply them and also because the band s a bit thick. I guess, being  a newbie at lashes I'm not comfortable with these yet.


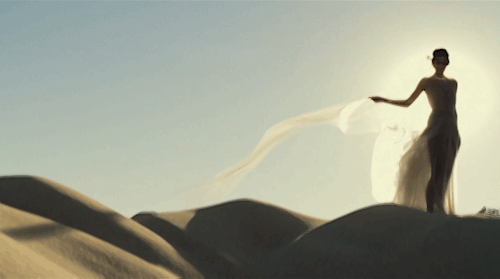
I don't have any picture of me wearing them but I guess you can do a similar look to this with them.
The liner will need to be somewhat thick and dark though. I think that they could be great for a photoshoot.


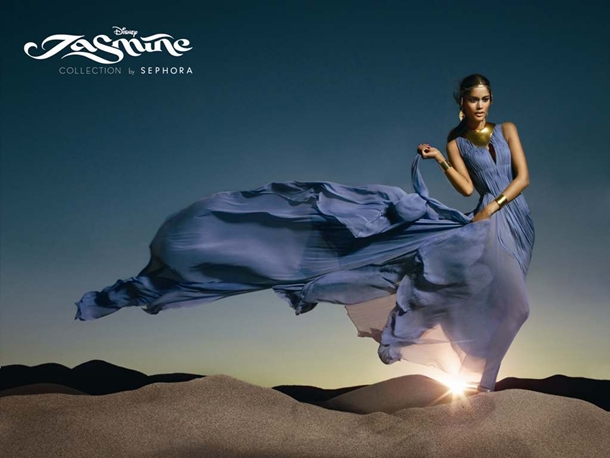
I'd love to get some feather lashes to do some interesting artistic looks like this one. They really inspire me.


I only have one kind of lash glue and it's the Duo Dark Tone one, it's my absolute favourite because the lashes stay put until I decide to remove them, and also because it's a dark colour glue so I don't need to touch it up with liner if I don't feel like it.

 source: Starcosmetics NZ

So this is it, I will also update this post with a video or pictorial of me actually applying my lashes, full strip and half strip so that you can see the entire process. 

Stay tuned and take care until next time!

See you! Bye!

Sonam

Tuesday, October 2, 2012

Looks and looks and more looks (yes, I have a hard time comming up with titles ^^)

Hi again! 
I hope you are all keeping well and that you started off your week on an optimistic note, it always helps.
So today I'm gonna post a few makeup looks that I did during my absence and that I didn't post, I have a lot of catching up to do so I'm working on it.

I haven't been doing anything extraordinarily bold or out of the ordinary, just trying to switch it up a bit and keep it interesting.
I hope you'll like it.


Products used:
The Body Shop Tea Tree Pore Minimiser
Mac Mineralize Charged water moisture gel
The body shop concealer pencil in shade 06 
the Palette I got from my international Swap with Jeanette (clic clic to see what I got)
my Kiko Gel liner in Black
and Kiko Cosmetics waterproof eyeliner in Blue (it stayed there until I removed it with the Sephora Waterproof eye makeup remover)!!!
And I'm wearing Maybelline Volum' Express Falsies in Black (whatever, I prefer They're Real)


Products used:
As usual these days:
On my face:The Body Shop Tea Tree Pore Minimiser
Mac Mineralize Charged water moisture gel
The body shop concealer pencil in shade 06
On my eyes I used ELF shadow Primer
on the crease I have something that is not a shadow but I love this colour for this, it's the Urban Decay Baked Bronzer in shade Toasted (this was given to me by Aurélie my photographer friend and I've been in love with it ever since).
on my inner lid I have Mac Bare Study paint pot thinly applied
and over it I put some pigments from the mac Aloha crushed Metallic Pigments in Lantern Light
In the corner I just left the Paint pot colour only for that gradient effect

in the outer corner I applied Maybelline colour tattoo in purple and added some purple shadow from the Frontcover palette in Ocean, then I lined the outer corner of my eyes with a purple Shadow pencil that I got as a gift from an Ebay seller that I regularly buy from, I'll write a post and post swatches of the pencils they're quite vibrant and longlasting too. They look like this: 
My mascara is Clinique volumising mascara in black, I love the fact that it doesn't dry up and get your lashes stiff. I even curled them wearing this.


In this picture I'm just wearing some Sephora Mattifying powder in shade D35,
A dark brown Miss Helen Brow pencil
Sephora Dark Blue liquid Eyeliner (I put some on my lashes too, that's what happens when I curl them before applying eyeliner)
And Sephora chubby stick Watterproof eyeliner in Turquoise on my bottom lashline

 So that's it for now, I will post about these eyeliners in detail with swatches and show you what I bought when I got these, and where too... 


Until next time, See you, Bye!

Sonam