Showing posts with label dark. Show all posts

Friday, March 8, 2013

TGIF Look Of The Day!


Hello! 
This look was done with one of my favorite colours these days (I did it three days in a row=)):

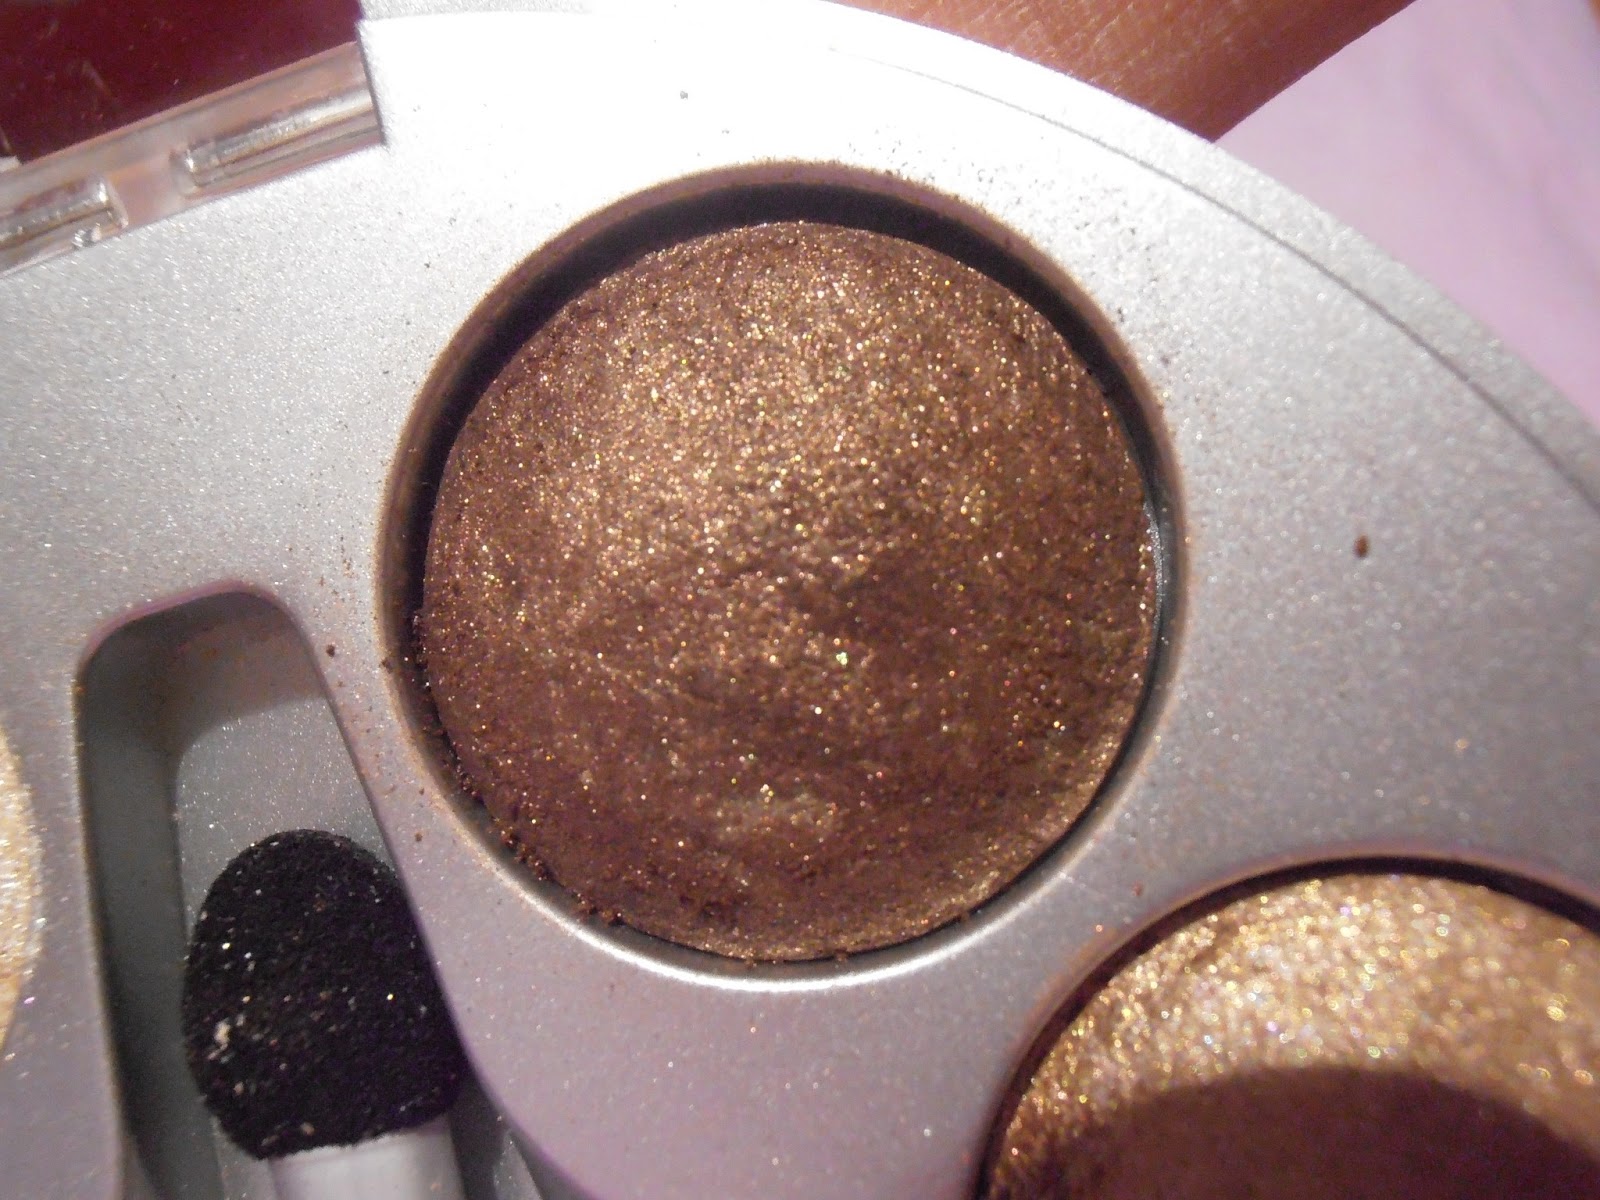
It’s a sort of dark Gold in the Biguine Eyeshadow Palette, I also have a Green version of it that I will swatch this weekend with neutral and dark base so you can see the colours and how they look on the skin.

Ce look a été fait avec une de mes couleurs préférées ces jours-çi (je l'ai refait trois jours de suite=)):

C’est une sorte de Doré sombre dans la Palette d'ombre à Paupières Biguine, j'ai aussi une version Verte de cette palette que je vais swatcher ce week-end avec une base neutre et sombre afin que vous puissiez voir les couleurs et comment elles sont une fois appliquées sur ​​la peau.


swatched on naked skin without any base
For this look I used Nyx Jumbo pencil in Yoghurt as base, I just applied it along my lashline then smudged it on my entire lid to create a sort of gradient look that would be more concentrated along the lash line and more sparse in the crease.
Then, using my ring finger, I just applied the eyeshadow on top of the base using a tapping motion (to avoid getting glitter all over my cheeks like I usually do) and to apply more product as eyeshadow brushes tend to  pick up less product.
Pour ce look j'ai utilisé le crayon Jumbo de Nyx couleur Yoghurt comme base, je l'ai appliqué le long des cils puis j'ai estompé sur l'ensemble de la paupière pour créer une sorte de dégradé qui serait plus concentrée le long des cils et moins vers l'exterieur.
Puis, en utilisant mon annulaire, j'ai juste appliqué le fard à paupières pardessus  la base en éssayant de juste tapoter avec mon doigt (pour éviter d'avoir des paillettes partout sur mes joues comme je fais d'habitude) et d'appliquer plus de produit que des les pinceaux pour fard à paupières qui ont tendance à ramasser moins de produit.


I added some Nyx jumbo pencil in Milk in the inner corner of my eye and then put some of the gold eyeshadow from my Clinique All over Palette and smudged it a bit with a blending brush so that the '"light" would be less concentrated on one spot.

J'ai ajouté un peu de crayon Jumbo de Nyx couleur Milk dans le coin interne de l'œil, puis j'ai mis un peu de fard à paupières doré de la palette All over de Clinique puis j'ai un peu estompé avec un pinceau pour que la "lumière" soit un peu diffusée.


After that, I added some brown eyeliner on the outer and inner corners of my upper lashline and created a bit of a wind on the outer corner.
Then I added mascara as usual. I haven't been wearing fake lashes these days because it takes time and also because I don't have a lot left right now, as soon as I restock I'll try to incorporate them into my looks, it adds that little something. =)
J'ai ensuite ajouté un peu d'eye-liner marron sur les coins extérieurs et intérieurs de mes yeux puis j'ai fait j'ai un peu "allongé" le liner sur le coin externe. Ensuite, j'ai ajouté du mascara comme d'habitude. Je ne mets pas de faux cils ces jours-ci parce que cela prend du temps et aussi parce que je n'en ai plus trop en ce moment, dès que je me serai réapprovisionné je vais essayer de les incorporer dans mes looks, ils ajoutent ce petit quelque chose.=)


The products used are:

Les produits utilisés sont:

Elf eyeshadow primer
Nyx Jumbo pencils in Milk &Yoghurt
Biguine Dark Gold Eyeshadow
Clinique Gold eyeshadow from the All over Palette
Maybelline Mascara base
Maybelline Great Lash Mascra
Essence Kajal pencil in 08 Teddy that I also use to do my Liner look sometimes.


I hope you liked this, See you soon, Bye!

J'èspère que vous avez aimé, à bientôt!


Sonam

Wednesday, January 30, 2013

Photoshoot!

Hi!

So this is the post about the photoshoot that I talked about on Facebook

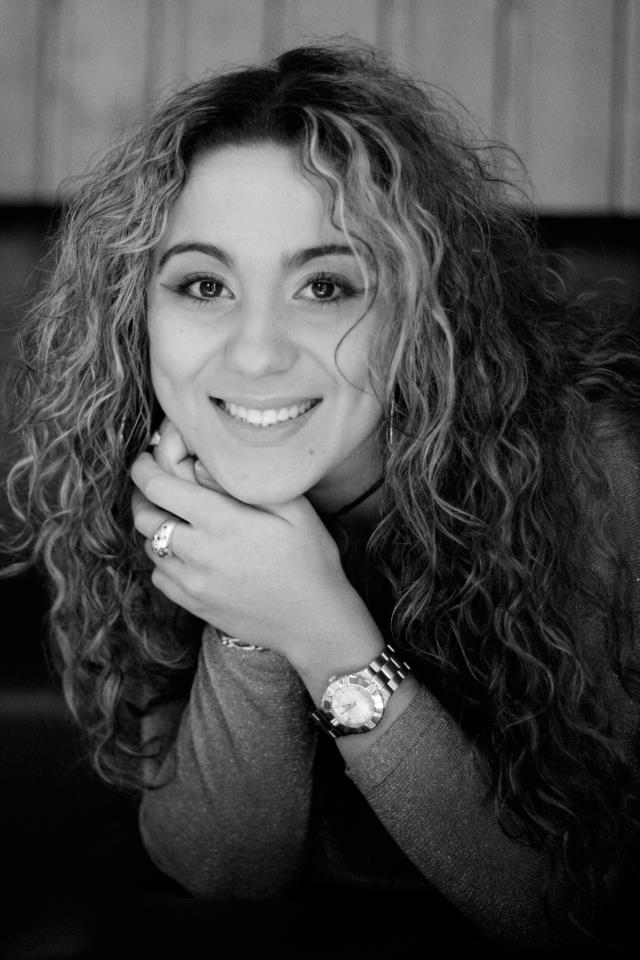
It was Saturday morning and there were two models, a guy: Jonathan, and a girl: Rebecca.
The entire shoot was really fun because we were in a little bar, the owner left us the place for the entire day and I actually remember that we were talking with Aurélie about doing a photoshoot the very first time we went there.
For Jonathan, I didn't do much, I just applied some loose powder to prevent his face from being shiny on the pictures. 
For Rebecca, I did a kind of gradual makeup: she had three different outfits so I did a neutral makeup in the beginning just using concealer, powder ,neutral colours from the Naked 2 Palette and some mascara.

Donc, voici le post sur la séance photo dont je vous avais parlé sur ma page Facebook .
C'était un samedi matin et il y avait deux modèles, un homme: Jonathan, et une jeune femme: Rebecca.
Tout le tournage était vraiment sympa parce que nous étions dans un petit bar, la propriétaire nous a laissé l'endroit pour toute la journée et je me souviens effectivement que nous en avions parlé (de faire un shooting) avec Aurélie la toute première fois où nous sommes allées là-bas.
Pour Jonathan, je n'ai pas fait grand chose, j'ai juste appliqué une poudre libre pour éviter que son visage ne brille trop sur les photos.
Pour Rebecca, j'ai fait une sorte de maquillage progressif: elle a eu trois tenues différentes donc j'ai fait un maquillage neutre au début en utilisant simplement un anti-cernes, de la poudre, des couleurs neutres de la palette Naked 2 et du mascara.


Then for the next outfit I added some more eyeshadow in the corners of her eyes (Busted and Snakebite from the Naked 2 Palette).

Puis pour la seconde tenuej'ai ajouté un peu plus de fard à paupières dans les coins externes de ses yeux (Busted et Snakebite de la Naked Palette 2).


The third Makeup look was almost a disaster though, I was planning on using some Dark blue Eyeshadow from Yves Rocher, but it refused to stick to her eyelid even after wetting the brush so I ended up using Pistol from the Naked 2 Palette and the crease colour from the Wet&Wild Walking on Eggshells palette. The colour turned out to be quite interesting, the blue made it a bit purple I think. 

(source: luuux.com)

Le troisième look a failli être un désastre par contre, je comptais utiliser un fard à paupières bleu foncé de Yves Rocher, mais il a refusé de tenir sur ses paupières, même après avoir mouillé le pinceau donc j'ai fini par utiliser Pistol de la palette Naked 2 et la couleur du milieu de la palette Wet&Wild Walking on Eggshells. La couleur a fini par être vraiment intéressante, un peu entre le bleu et le violet je pense.


Here's Jonathan the male model


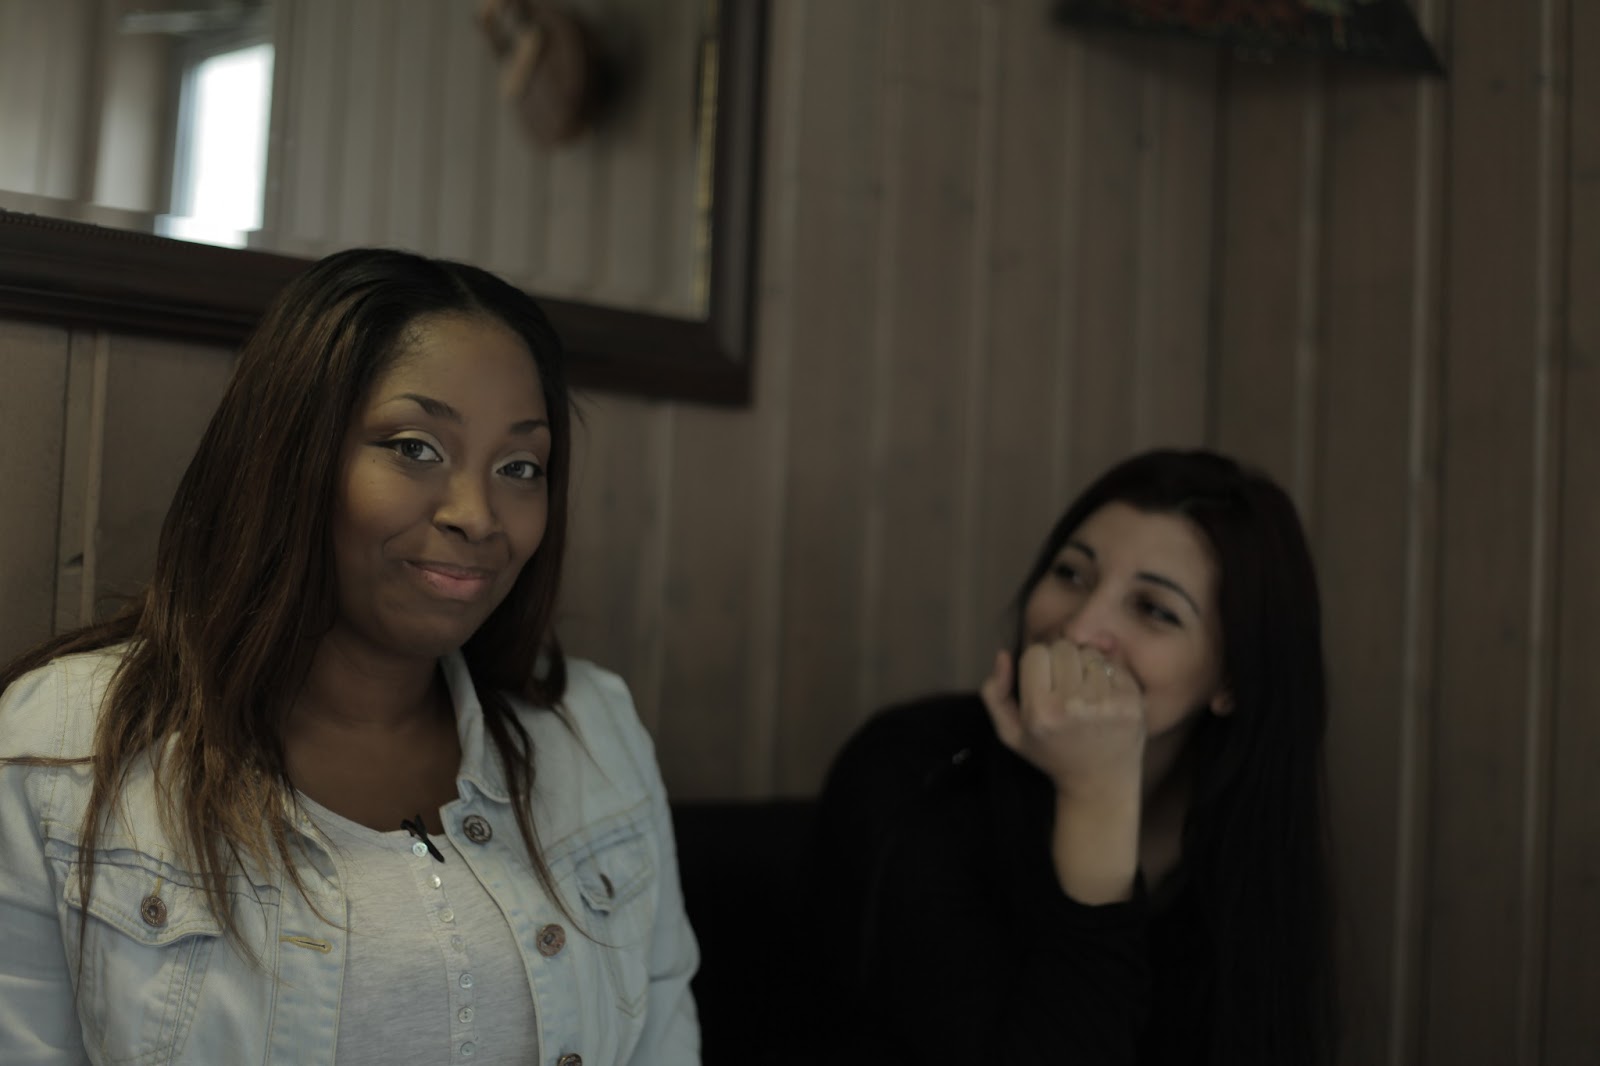
Here's a picture of Aurélie and me laughing mischievously after the photoshoot while remembering how fast I ran after I lit the smoke thingies. I was even captured running from it in Aurélie's Video portrait =)
All in all, it was another great photoshoot, I can't wait for more of those!

Voici une photo d'Aurélie et moi riant malicieusement après la séance photo en se rappelant à quelle vitesse j'ai couru après avoir allumé les fumigènes. J'ai même été filmée dans le portrait vidéo d'Aurélie =)
Dans l'ensemble, ce fut encore une super séance photo, j'ai hâte d'y être encore!

Thanks for reading!

See you! Bye!
Sonam

Thursday, October 25, 2012

Fascinated by lashes!

source: soshallo

Weirdly enough, my lashes grow straight down, which means that when I apply mascara, if I don't curl them, they just look "meh" or sometimes (depending on the mascara I use) they even look like I don't have any lashes at all. That's where false lashes come in. Actually not really because by curling my lashes I'm quite satisfied with the result, but since I've tried false lashes and seen how much more they add to any look, I can't really go back. I do my makeup without applying false lashes quite often but when I do, I usually pack on the mascara, I don't make them clumpy but I try to still make them stand out. Like so:


It took me a very long time before I learned how to actually apply them properly and also to keep them on, because I used to put them on and then pull them off just before leaving the house thinking "it'll look too fake, and everyone will see they're not mine" or they'll fall off while I'm talking to someone.
But by practicing a lot I managed to get a few techniques to apply them easily, quite fast and make them look realistic too.

Here I'm gonna show you my favorite lashes and less favorite ones and the different techniques I use for different kinds of strip lashes (I don't like the individual ones or the ones that come in little "bunches" of 3 or 4 that you can glue on just because I'm not that good at using them and for me comfort is key so...).

So I'm gonna start by the less favorite ones and try to explain why that is.


Usually when I wear lashes, I like them to blend in with my own lashes, these, for some reason, don't.
I also usually curl the lashes before applying them and these, despite being a bit curled already (not enough IMO) won't budge no matter how long you try, I didn't try heating the lash curler before doing it because I was quite sure they were gonna melt.

This is how they look once applied:


Oh and I also forgot to mention that very visible black band that you can see on my lashline right there.
I don't like that either.

These are my Favorite:


The first reason is the clear band, I really like it as it's not noticeable at all even with neutral looks, you don't need to cover it up with black liner.


They are also very easy to curl which is a big plus for me.
Here's how they look applied.

 I feel like they're even less noticeable without eyeliner actually or with a very thin line of liner.


 Here they're applied cut in half, this is the way I usually use them when I'm in a hurry and also when I'm going for a simple neutral look. 


Here I cut it in half and glued it to the outside part of my lashline.
I also only applied mascara on the roots so that it wouldn't stand out beside my own lashes and voila!

These are my second favorite but they're only second because of the colour of the band otherwise they would be my absolute favorite because I don't know if you can tell, but the band is made of thread actually and that makes it super flexible, which means no more wiggling and twisting the lash band to give it the shape that you want, I just take these out of the box apply the glue and put them on. They also curl as easily as the previous ones, what's not to like?


Here's how they look once applied.


And here's how flexible they are.


You can see the thread band, click for a bigger picture. (works on all the pictures btw)


These are the ones that I like less of those that I do like because the band is quite stiff so it's a bit more work to apply them and also because the band s a bit thick. I guess, being  a newbie at lashes I'm not comfortable with these yet.


I don't have any picture of me wearing them but I guess you can do a similar look to this with them.
The liner will need to be somewhat thick and dark though. I think that they could be great for a photoshoot.


I'd love to get some feather lashes to do some interesting artistic looks like this one. They really inspire me.


I only have one kind of lash glue and it's the Duo Dark Tone one, it's my absolute favourite because the lashes stay put until I decide to remove them, and also because it's a dark colour glue so I don't need to touch it up with liner if I don't feel like it.

 source: Starcosmetics NZ

So this is it, I will also update this post with a video or pictorial of me actually applying my lashes, full strip and half strip so that you can see the entire process. 

Stay tuned and take care until next time!

See you! Bye!

Sonam